How a Pro Llumar IRX Install Keeps You Cooler Longer
A good tint job should do more than just make your ride look sharp. It should keep your cabin cooler, protect your skin, and help your interior last longer in the Florida sun. That is exactly what a professional Llumar IRX ceramic tint install is built to do when it is done the right way, from prep to final check.
Here in
Cape Coral, we deal with heavy sun, sticky humidity, and long days in traffic. A rushed tint job will show its flaws fast. We want you to know what a proper install looks like, so you can feel confident when you hand over your keys. We are walking through our step-by-step process, including clean-room prep, edge work, curing, and inspection, so you know what to expect and how a pro install keeps you cooler for years, not months.
With Llumar IRX ceramic tint, you get:
- Noticeably cooler cabin temperatures on hot days
- Strong UV protection to help shield your skin and interior
- Glare reduction for safer, more relaxed driving
- Clear views without haze, purple fade, or big bubbles later on
Florida Climate Challenges and Why Process Matters
Florida’s coastal climate can be rough on
window tint. High humidity, salty air, intense midday sun, and quick afternoon storms all team up to test the adhesive and the film. If the glass is not prepped right, or the film is rushed on, that environment will show every shortcut.
Llumar IRX ceramic tint is built to push heat away by targeting infrared energy while still blocking UV rays. It is a strong film, but even great film cannot make up for poor prep. The installer has to control the moisture, the dust, and the way the film is laid to the glass, especially in a humid shop.
When people go with DIY kits or very basic installs, they often end up with:
- Edges that peel where moisture sneaks in
- Bubbles and fingers that never fully lay down
- Dust specks and hair trapped forever under the film
- Faded or hazy film that looks tired long before it should
A careful process is what protects your investment, keeps your car looking clean, and lets Llumar IRX ceramic tint do its job for the long haul.
Clean-Room Prep and Surface Perfection Before Tint Touches Glass
We start by controlling the space before we ever touch the car. The bay is closed up, airflow is controlled, and anything that can kick up dust or lint is kept away from the work area. This kind of “clean-room style” setup becomes even more important in late summer and early fall, when humidity is up and airborne particles like to cling to every surface.
Then we move to the glass itself. A perfect bond starts with perfectly clean glass, so our prep is layered, not just a quick wipe:
- Initial inspection of each window, inside and out
- Removal of any old tint or adhesive with safe tools and chemicals
- Careful razor scraping of the glass to knock down stubborn spots
- Multiple cleaning passes with slip solution and glass-safe cleaners
- A final lint-free and streak-free wipe right before the film is placed
While one tech preps the glass, another tech can be heat shrinking and shaping the Llumar IRX ceramic tint on the outside of the glass. We custom cut patterns for each window so the film matches the exact curves and edges of your vehicle. This fit is tighter and cleaner than generic pre-cut kits.
Inside the cabin, we mask and cover areas that need protection during wet work:
- Door cards and trim
- Speakers and switches
- Sensitive electronics near the glass
All of this prep slows things down a bit, but it pays off in cleaner edges, fewer specks, and smoother curing.
Precision Installation, Edge Sealing, and Finishing Touches
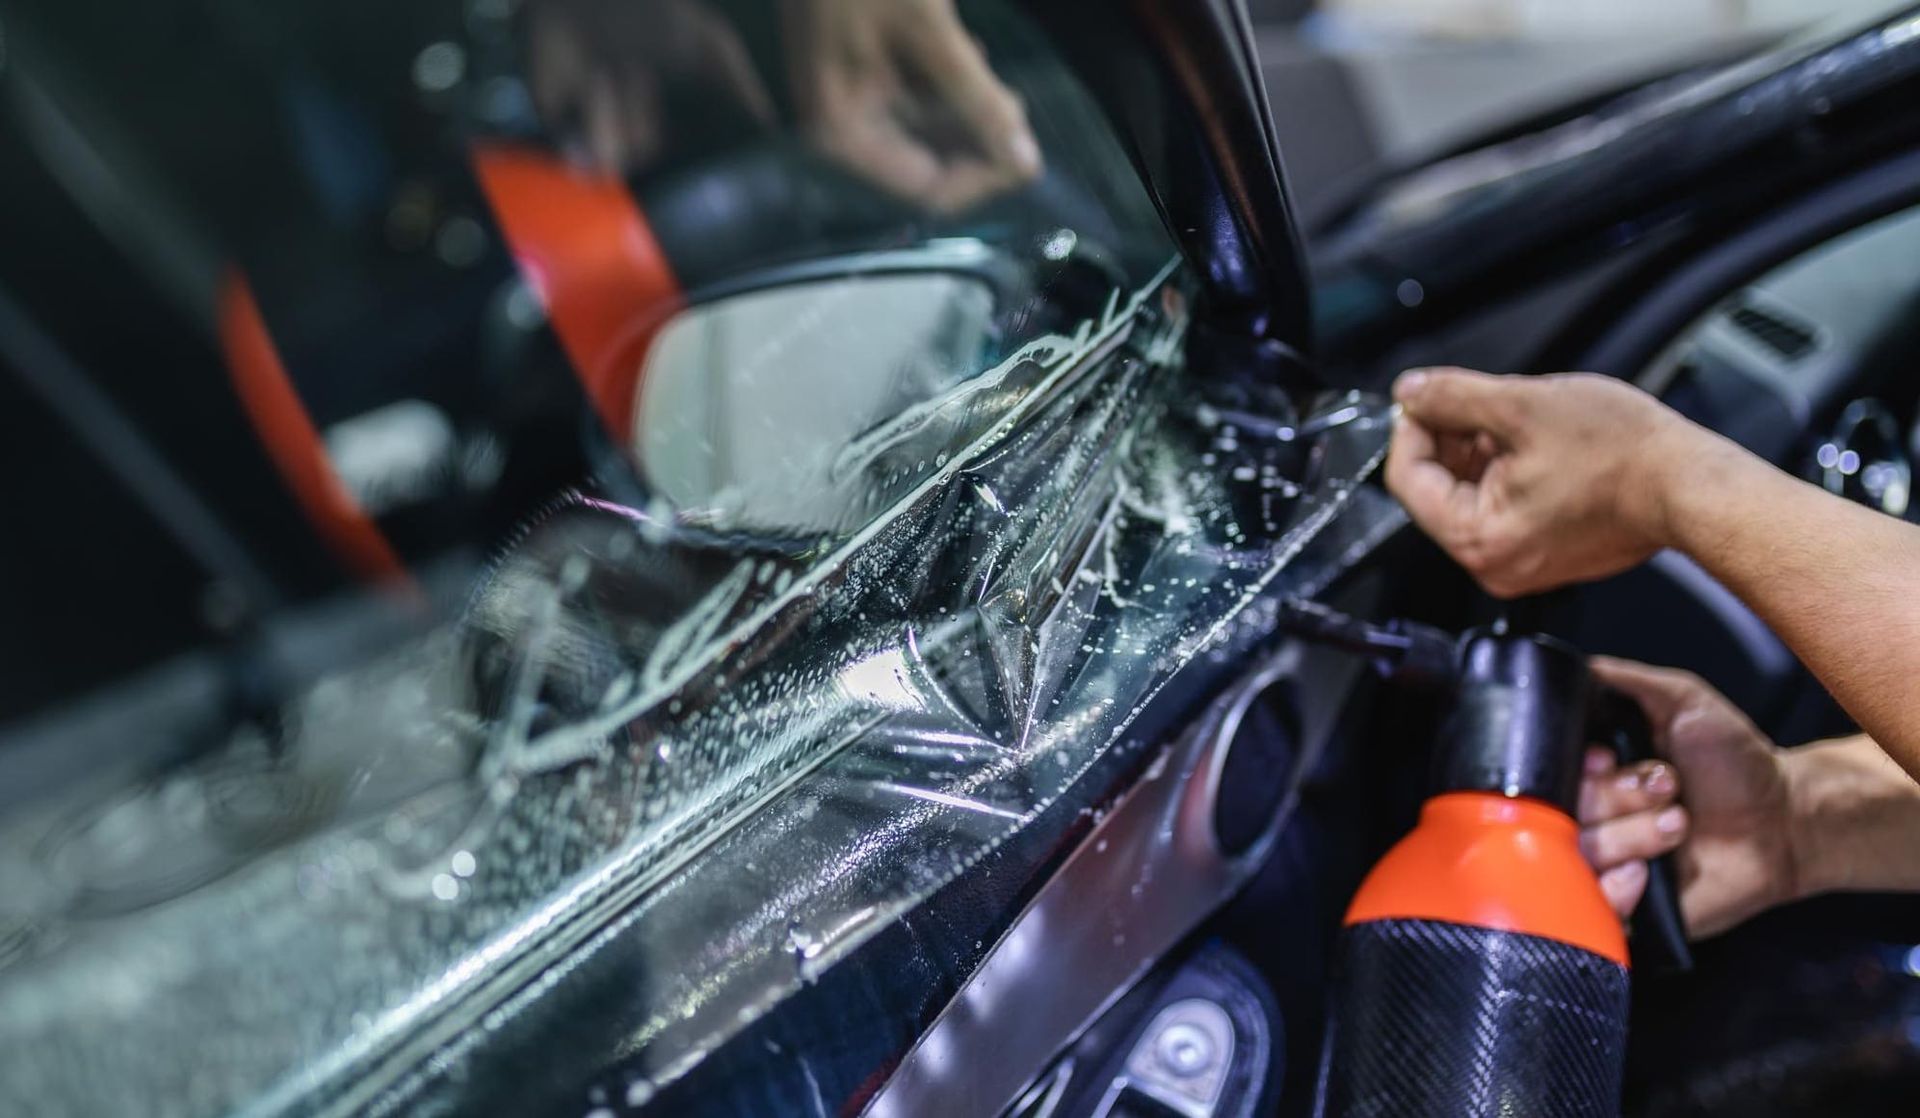
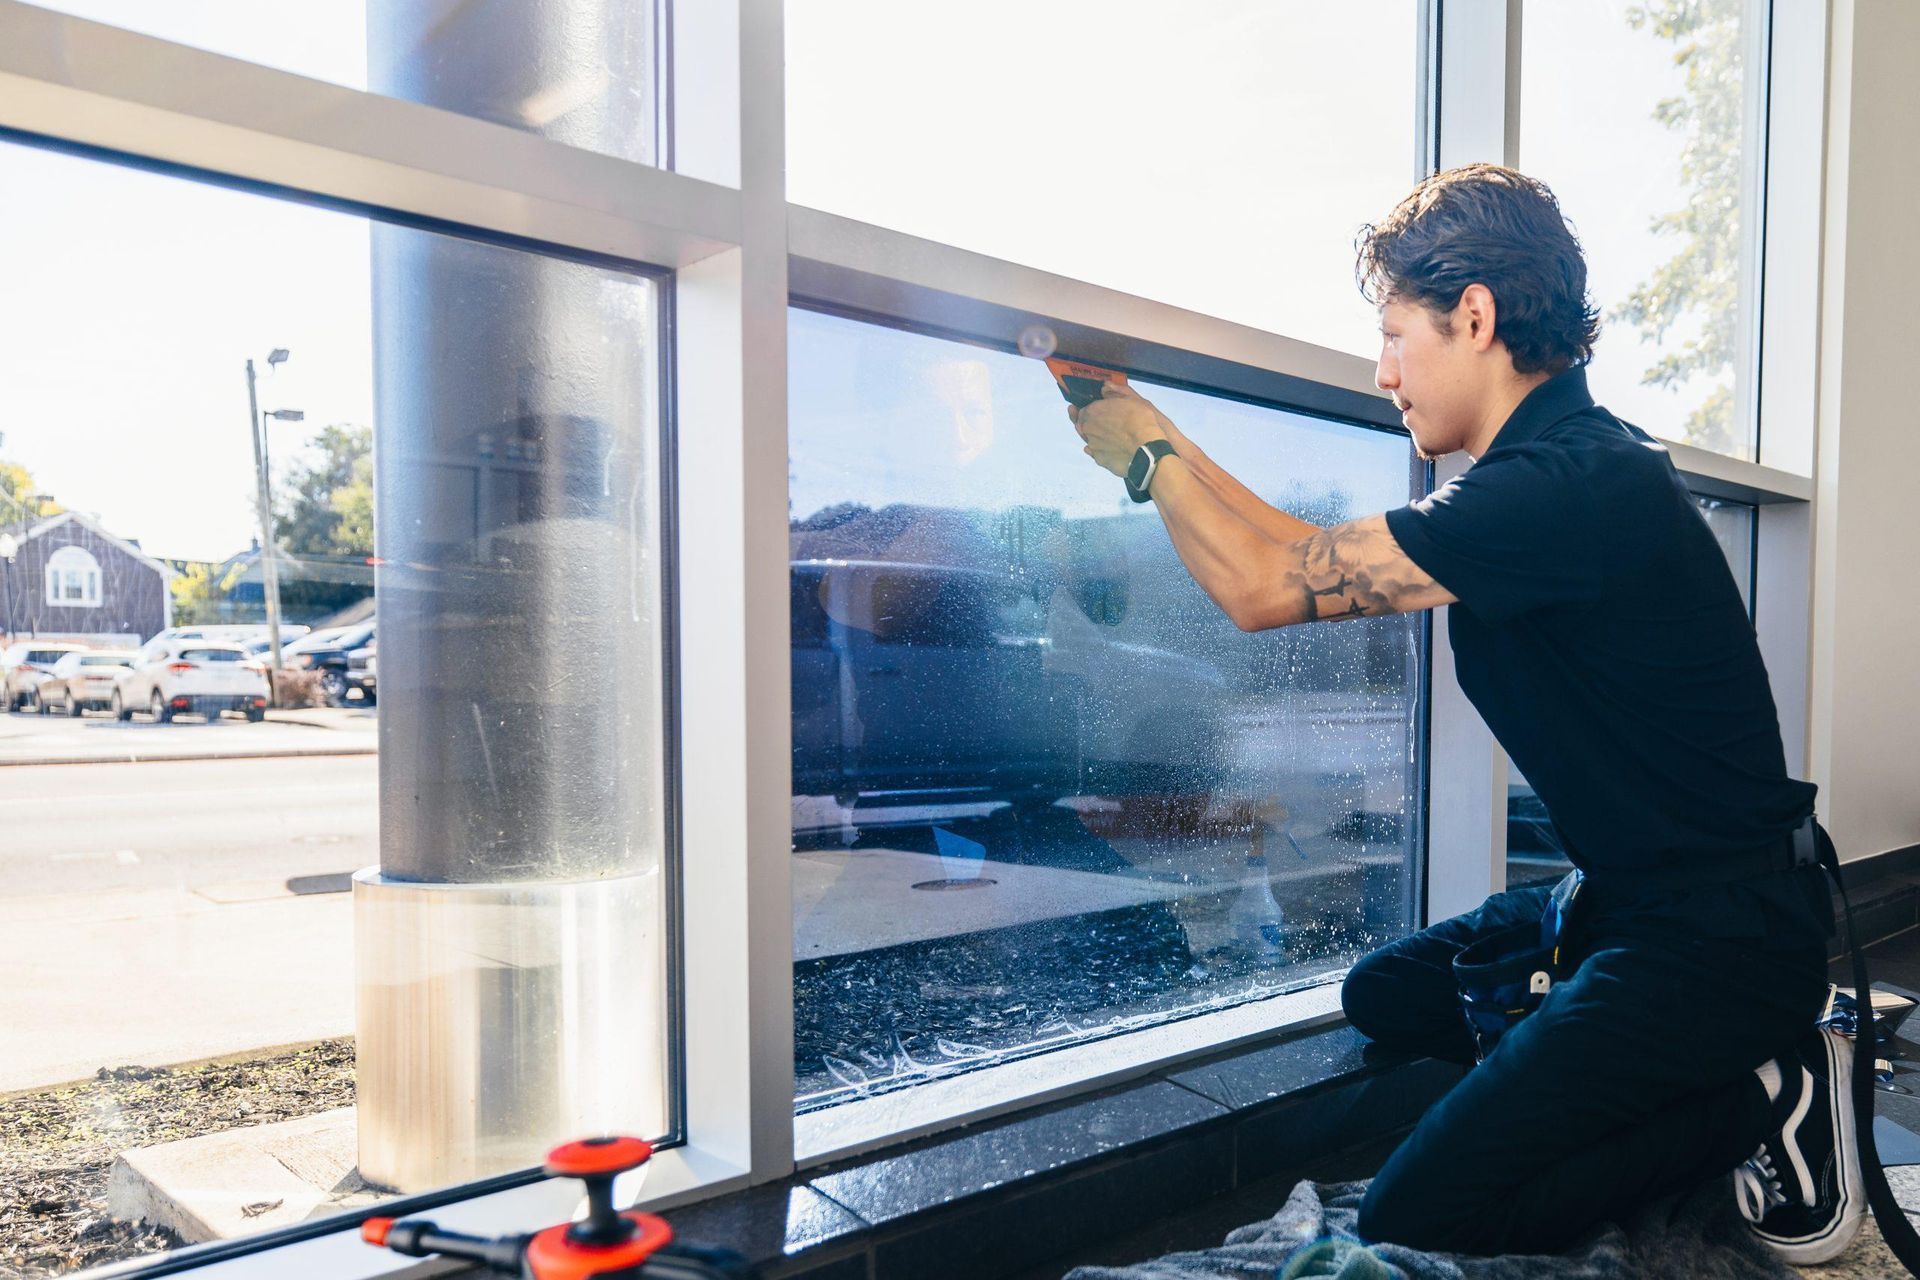
Once the glass is prepped and the film is shaped, we move into the wet install. The slip solution we use is mixed to work with local temps and humidity so the film can move when we need it to but still lock up and bond at the right pace.
The basic steps look like this:
- Wet the glass with slip solution
- Peel the liner and keep the adhesive side clean
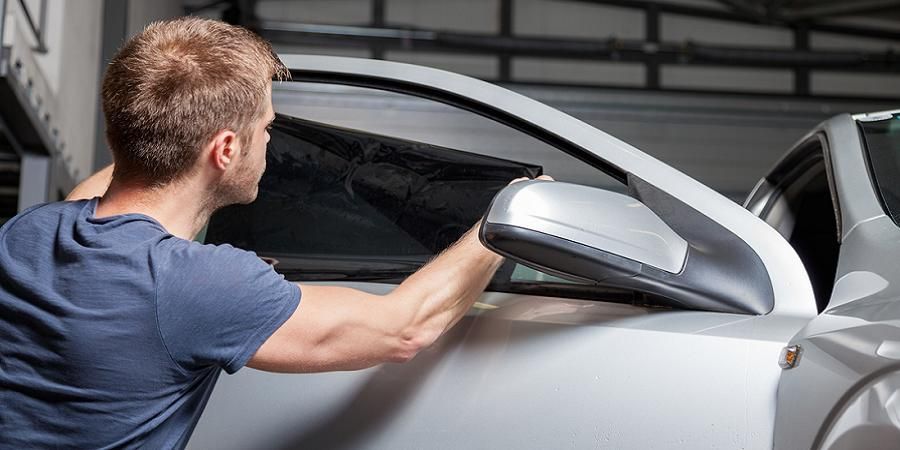
- Float the Llumar IRX ceramic tint into place on the inside of the glass
- Align edges with factory frit lines and any inspection marks
- Use methodical squeegee strokes to push out slip solution and air pockets
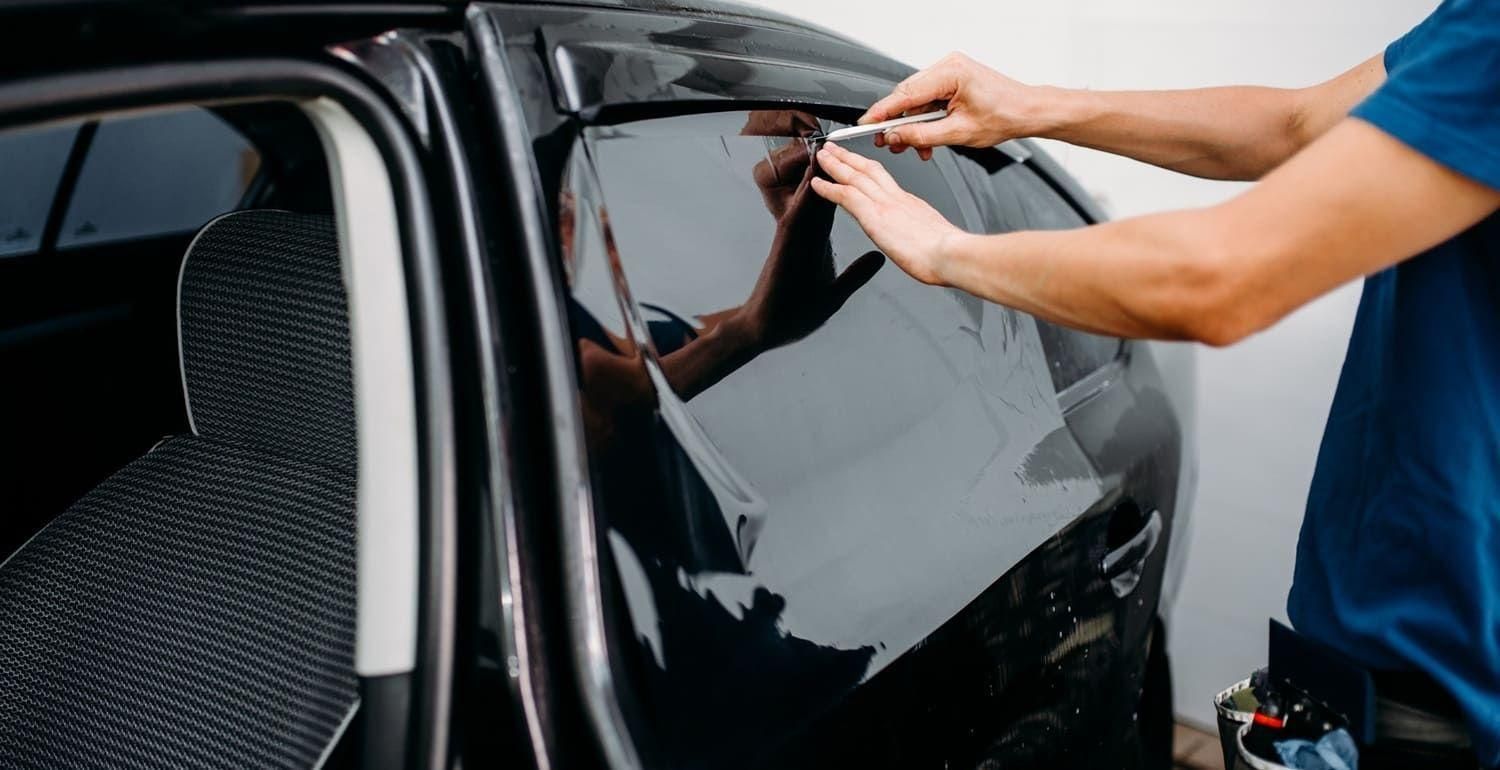
We take care not to stretch the film or drag dust across it. Once the main moisture is out, we spend extra time on the edges. Edge work is where a lot of cheap jobs fail.
Our edge sealing process includes:
- Micro edge trimming so film ends clean and uniform
- Special handling around dot matrix areas so the film lays as evenly as possible
- Attention to top edges where windows move into the seals
- Optional sealants or extra pressure on more exposed areas to help resist future lift
We check for:
- Light gaps along the borders
- Even edge reveals on matching windows
- Tight fit along defroster lines and sensors
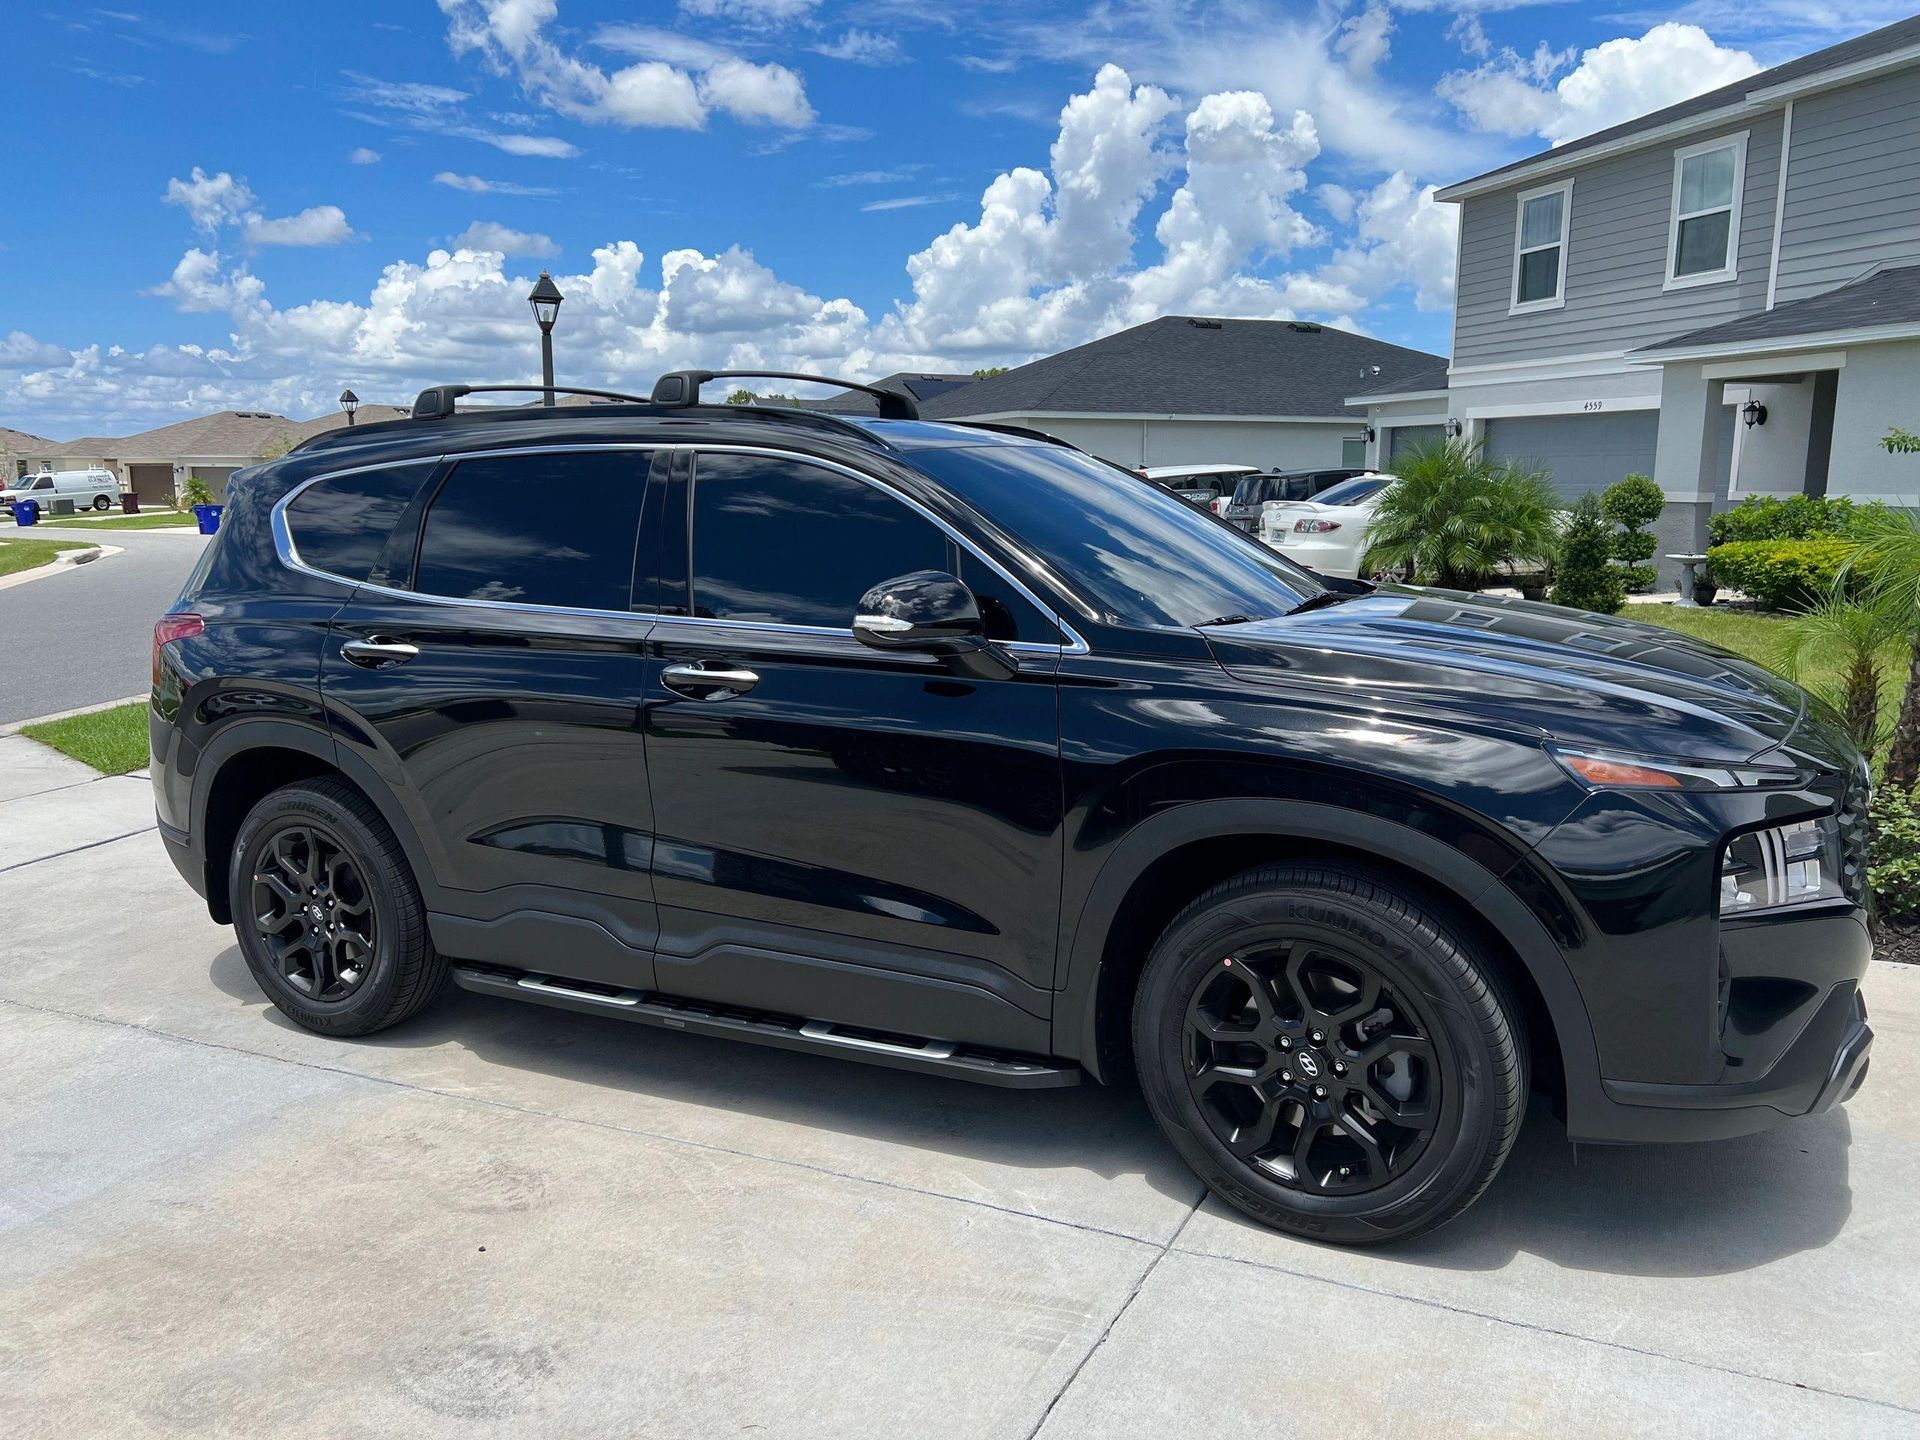
The same careful process applies across the windshield strip or full windshield (where allowed), front side windows, rear windows, and back glass, so the whole car looks like it came that way from the factory.
Cure Expectations in Florida Humidity and Care Tips
Once the tint is on, the curing starts. In Cape Coral’s humidity, Llumar IRX ceramic tint needs time for the slip solution to evaporate through the film and edges. You can usually drive the car soon after install, but the film will not be fully cured right away.
During curing, you might notice:
- A mild hazy or milky appearance
- Small moisture pockets that look like tiny bubbles
- Slight streaks that seem to sit under the surface
These are normal as long as they are under the film, not open to the touch. With regular sun exposure, they fade as the moisture works its way out.
Care tips for the first days and weeks:
- Keep windows up for the first few days, or as advised by the installer
- Avoid pressing on the film or scraping fog from the inside
- Hold off on cleaning the inside of the glass until curing is complete
- When you do clean, use soft microfiber towels and ammonia-free cleaners
- Be careful with beach sand, salt spray, or hard water spots, and wipe gently so you do not grind grit into the film
Treat your new tint kindly in these early days and it will treat you kindly through many long, hot drives.
Post-Install Inspection Checklist and Warranty Confidence
Before we hand a vehicle back, we run through a full post-install inspection. This is our chance to catch anything that needs a touch-up while the car is still in our controlled bay.
Our checklist includes:
- Looking for visible contamination specks in the main viewing areas
- Checking for any early edge lift or corners that need more work
- Making sure color and shade look even across matching windows
- Inspecting rear defroster lines to confirm they are intact and free of damage
- Testing window operation so glass moves smoothly without catching the film
- Confirming cameras, sensors, and mirrors mounted near glass still work as they should
When it makes sense, we also use tools like light meters or IR lamps to help show the difference between bare factory glass and glass with Llumar IRX ceramic tint on it. Feeling that drop in heat and glare right away gives you confidence you made the right choice.
You also get clear documentation, including:
- Care and cleaning guidelines so you know how to treat the tint
- Llumar warranty details from the manufacturer
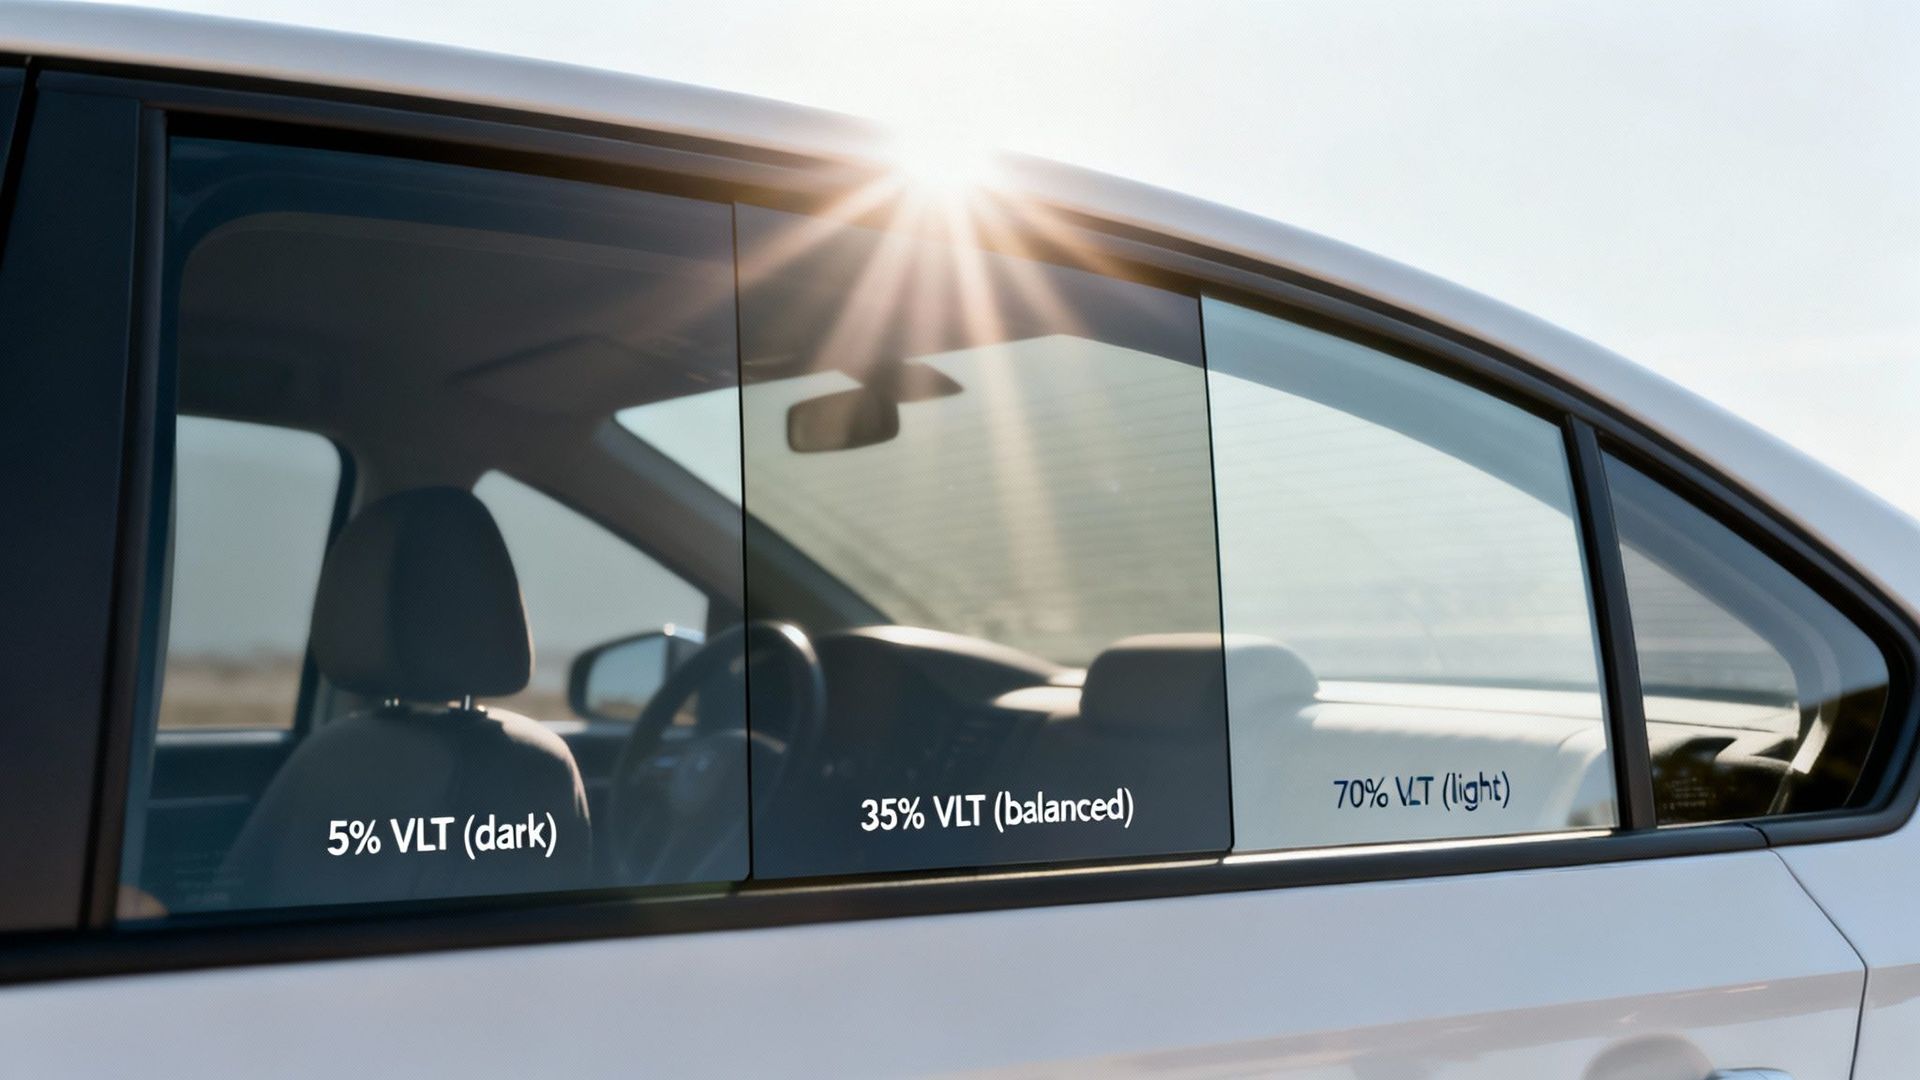
- Information related to legal tint limits for Florida and how your shades match those rules
That way, if you notice anything after the film has had time to cure, you know exactly what is normal, what to watch for, and how to get it checked.
Upgrade Your Driving Comfort With Advanced Ceramic Tint
Transform your daily drive with the UV protection, heat rejection, and clarity that our
LLumar IRX ceramic tint provides. At
Tints and Beyond, we take the time to match the right film to your vehicle, your style, and your comfort needs. If you are ready to
schedule an appointment or have questions about which shade is best for you,
contact us and we will help you get started.