Maximize Your Ceramic Tint Investment From Day One
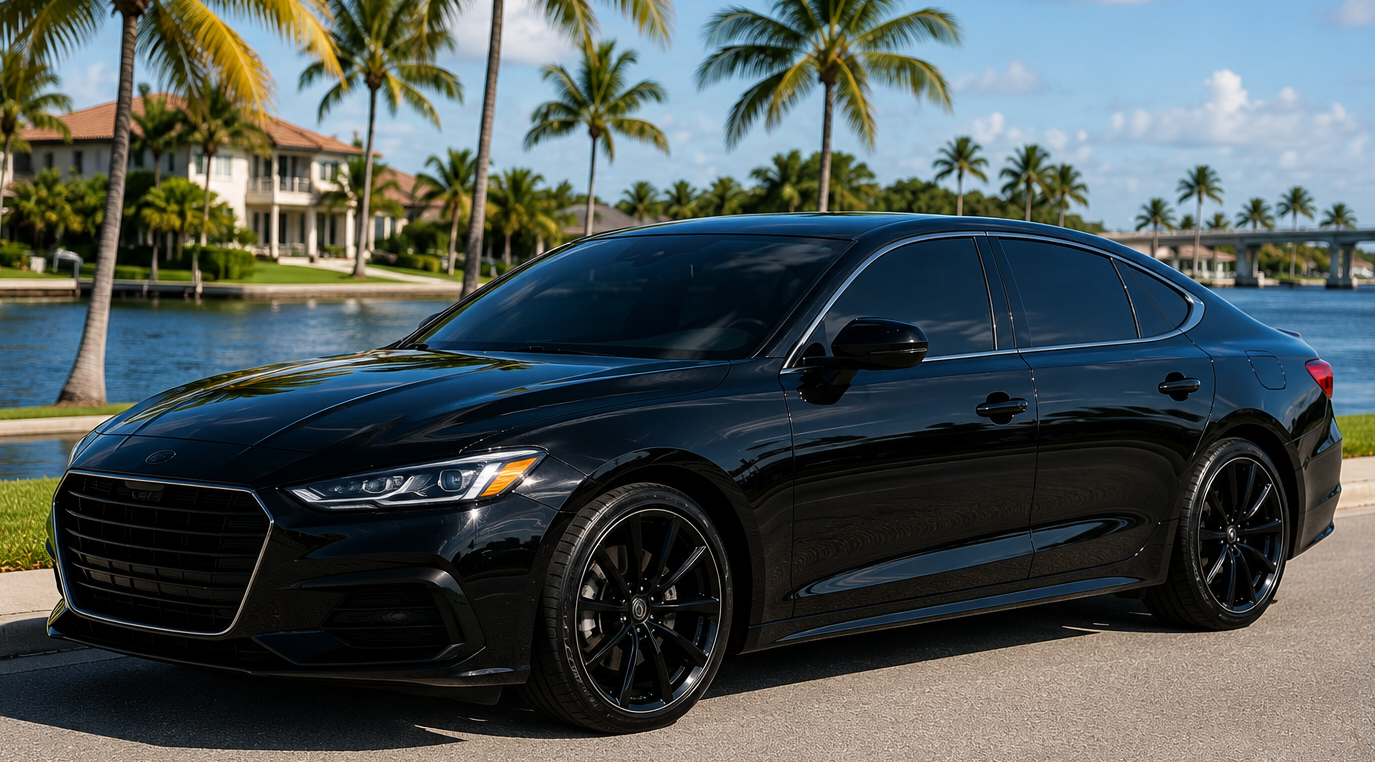
Ceramic window tint is one of the best upgrades you can give your vehicle in Southwest Florida. It cuts harsh heat, blocks UV rays, and helps keep your interior looking clean and sharp. To get all those benefits, how you care for the tint right after install matters just as much as the quality of the film.
Our weather around Cape Coral and Fort Myers is hot and humid almost all year. That humidity affects how the tint adhesive cures on your glass. Some haze, streaks, or small bubbles are normal as the film dries out, so the key is knowing what is normal and what is not. We will walk through what to do in the first 72 hours, the first week, and the first month so your tint looks great, performs well, and stays protected under warranty.
First 72 Hours: Protecting Fresh Ceramic Tint
Right after install, your ceramic tint is still soft and settling onto the glass. In Florida humidity, the curing can be slower than in drier places. The film holds a bit of moisture between the tint and the glass, and that trapped moisture needs time to work its way out.
What you might see in the first few days is usually nothing to worry about:
- Light cloudiness, haze, or a milky look
- Small water pockets that move or shrink each day
- Faint streaks that slowly fade as the film dries
In the summer rainy season, those tiny water pockets can hang around a little longer because the air is already full of moisture. In our “drier” months, they often clear up faster. During this time, it is very important to keep the windows fully closed and avoid slamming doors so the film does not shift while the adhesive is still soft.
For the first 72 hours, there are a few clear “do nots”:
- Do not roll down your windows
- Do not clean the inside of the glass at all
- Do not scrape, touch, or pick at the film edges
- Do not allow any interior detailing around the windows
Skip car washes that include anyone wiping the inside glass. When you park, shade is fine, but do not press towels, accordion sunshades, or suction-cup mounts right onto the tinted windows.
A few smart habits help your tint settle nicely:
- Gently close doors instead of slamming them
- Use your AC to cool the cabin instead of cracking windows
- Keep an eye out for large bubbles that do not change over a couple of days
Small moisture pockets are normal. Large, stiff bubbles or obvious lifting at the edges are not. If you spot those, make a mental note so you can bring it up with us.
First Week: Cleaning Myths, Rain, and Daily Driving
As you move into the first week, the tint is still curing, but you can start to use the car a bit more normally. Our frequent rain showers do not hurt your ceramic tint, since the film is on the inside of the glass and sealed. Outside water will not damage a proper install.
Things that do affect the curing:
- How often the car sits in direct sun
- How strong you run the AC
- How often the car heats up and cools down each day
Florida sun can help the surface dry, but humidity slows the deeper adhesive cure. After about seven days in summer, it is still normal to see faint haze or a few tiny remaining bubbles, especially on larger rear windows. In times with less humidity, the glass may look clear sooner.
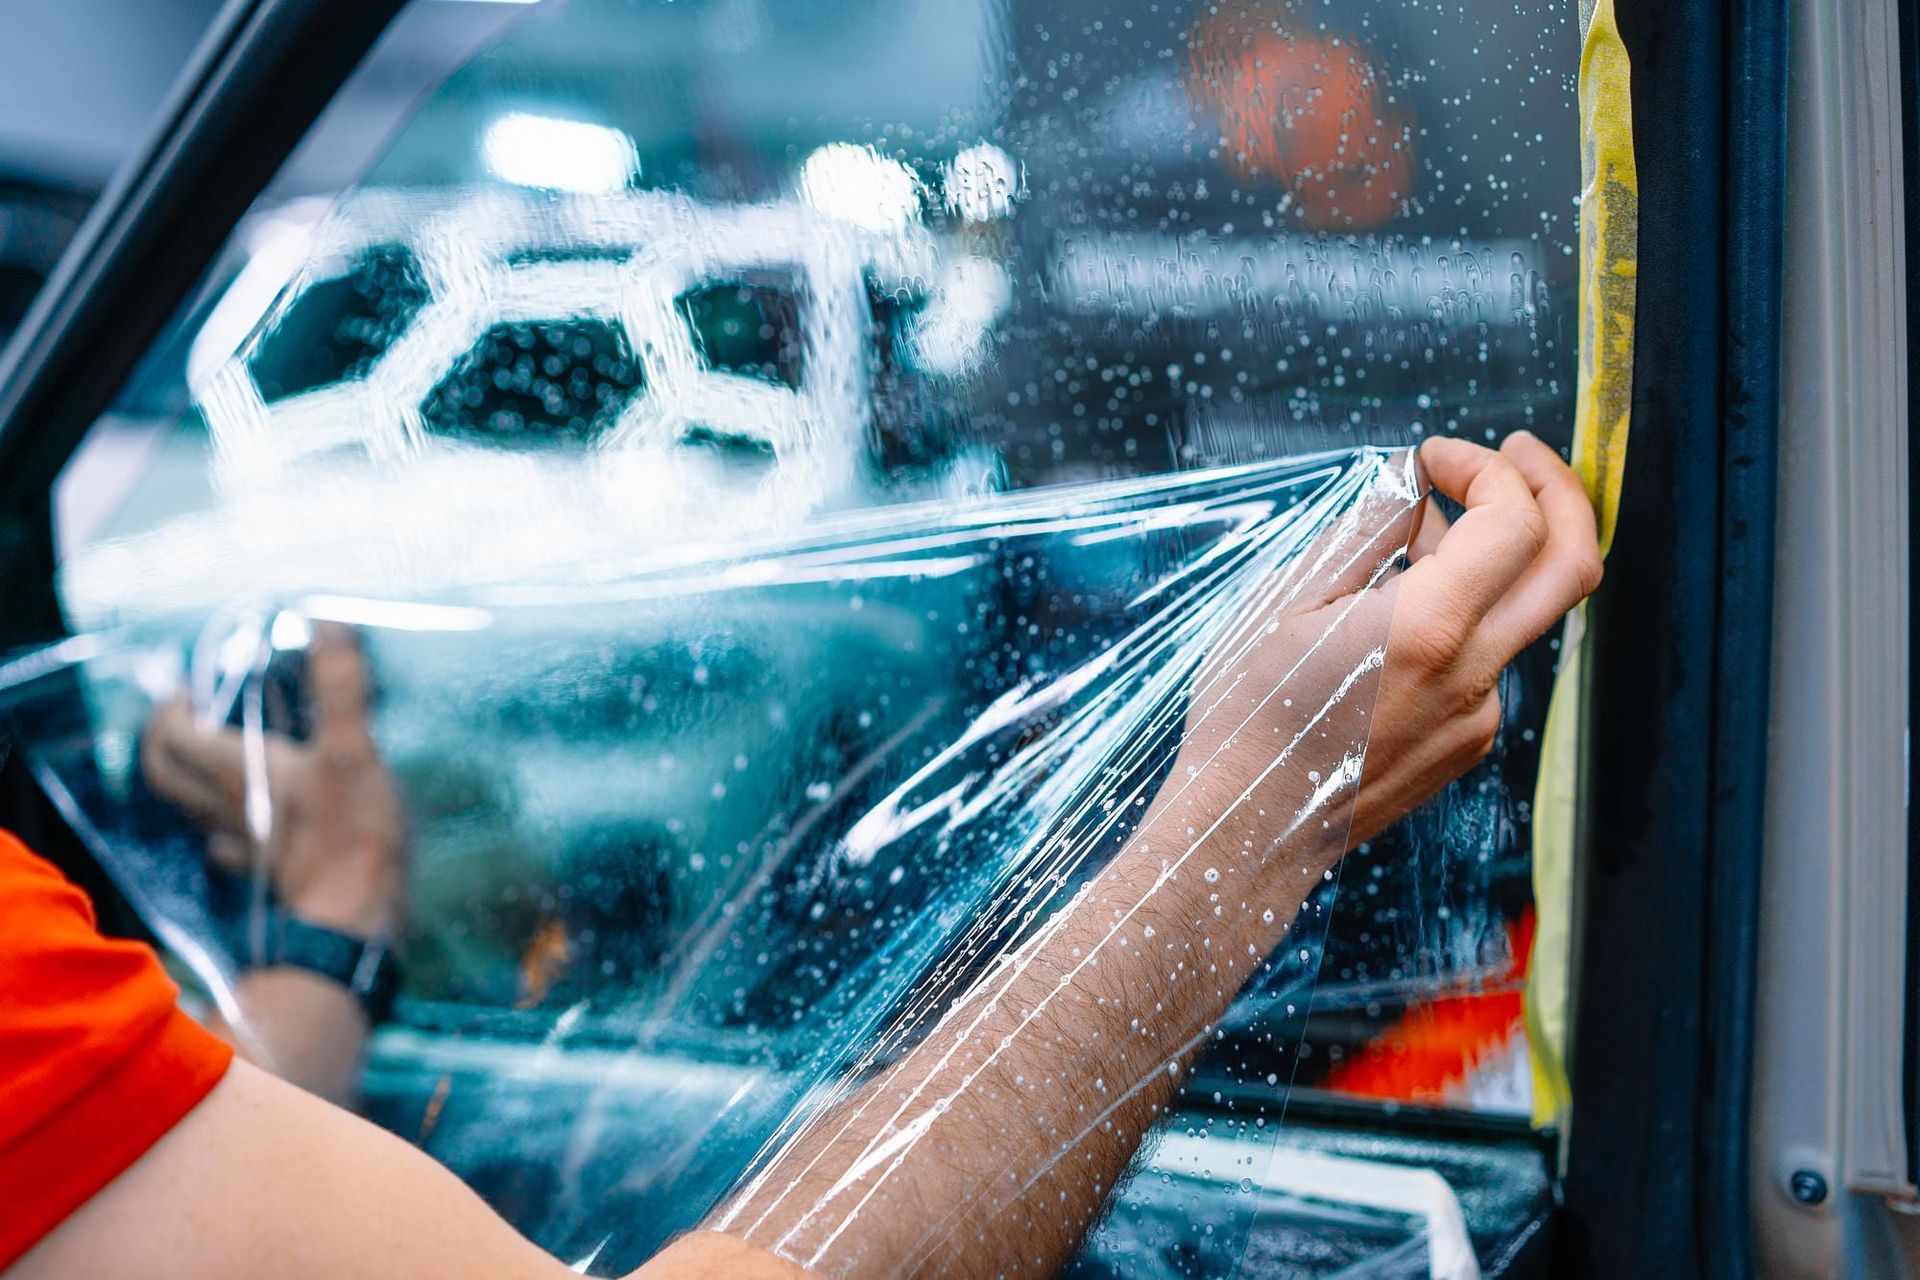
Once you pass the wait period your installer recommends, usually around the end of the first week, you can start cleaning the inside glass with care. The products you choose matter a lot. Avoid:
- Ammonia-based glass cleaners
- Abrasive pads or scrub sponges
- Paper towels that can scratch or shed lint
- Multi-surface cleaners with strong solvents
Safer options are tint-safe glass cleaner, a soft, clean microfiber towel, and light pressure. Spray the cleaner on the towel, not directly on the glass, and wipe in gentle, straight lines. Stay away from rubbing hard at the edges and corners so you do not catch and lift the film.
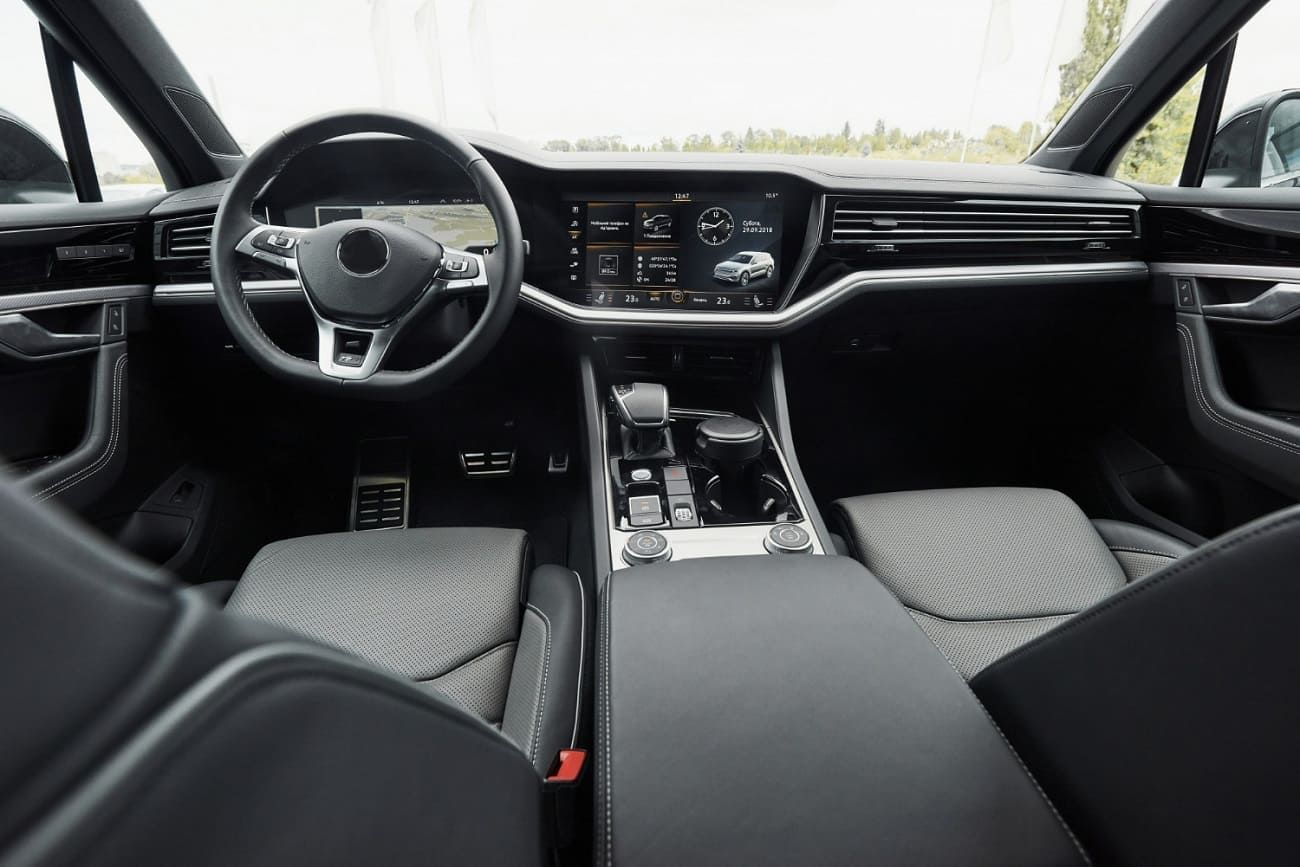
Inside your vehicle, you also want to be careful with accessories in week one:
- Skip kids’ window clings on the tinted glass
- Avoid suction-cup GPS and phone mounts on freshly tinted windows
- Do not stick adhesive hooks, stickers, or dash cams on the film
If you need mounts, use the dash, vents, or a part of the windshield that does not have tint. Pet nose prints can be wiped later once the tint is stronger, so do not stress if they add a few smudges.
First Month: Long-Term Protection in Florida Heat
By the end of the first month, your ceramic tint is usually considered fully cured under our local conditions. Strong sun helps pull out moisture, but the constant humidity in our area means the adhesive deep in the film still needs time to settle. Thicker or darker films, and especially big rear windows with defroster lines, may take longer to look perfectly clear.
By this point, most of the following should be gone or almost gone:
- General haze or milkiness
- Small, soft water pockets
- Light streaks from trapped moisture
If you still see big, firm bubbles or areas that stay cloudy without changing week to week, that is when it is time to have us take a look. We can tell the difference between normal moisture that just needs time and a real issue with the film or the bond to the glass.
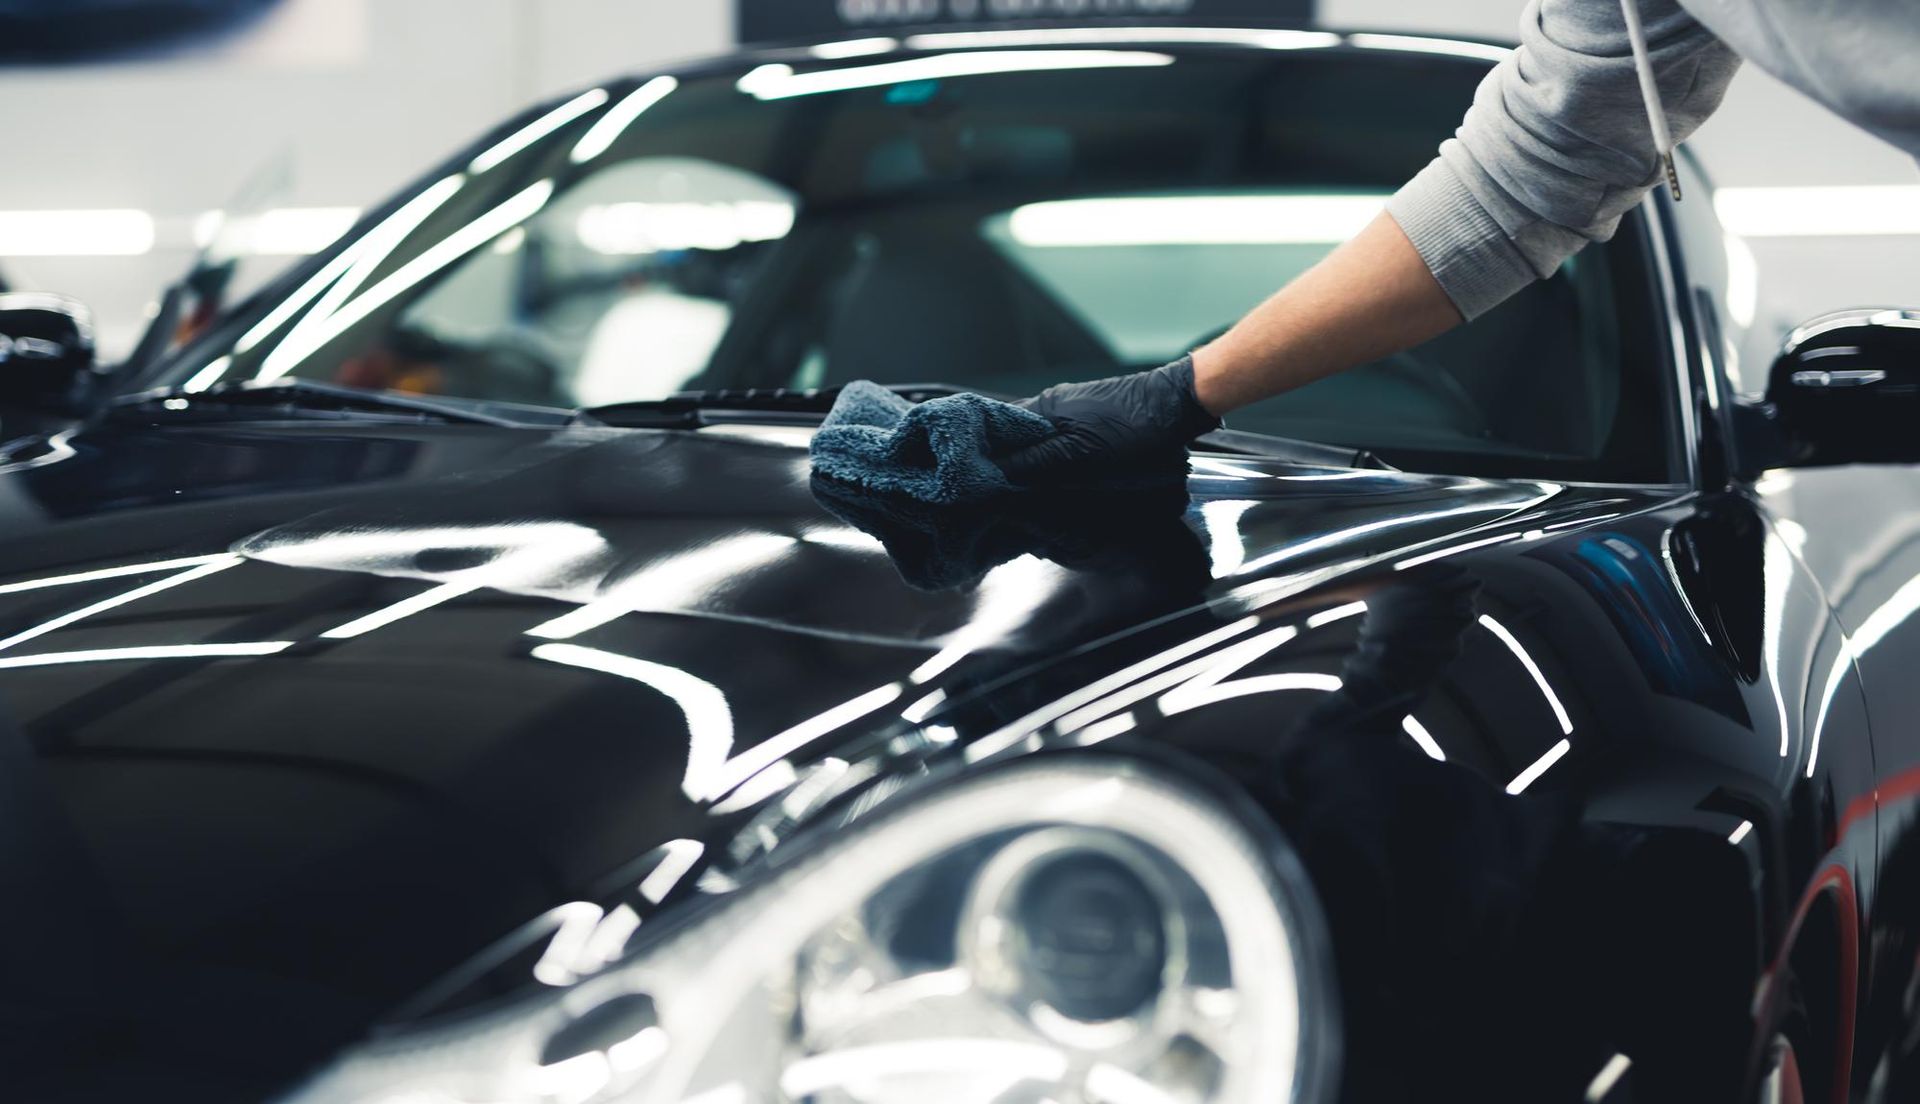
Once you reach the full cure, it is a good time to set a simple cleaning routine. A monthly habit can keep your tint looking fresh:
- Clean the inside glass with tint-safe cleaner and microfiber
- Check the edges for new dust or debris trying to work its way in
- Keep the dash and interior dust down so it does not smear on the glass
If you use car washes, touchless options are usually the easiest on the vehicle overall. At full-service locations, tell the staff not to touch the inside glass. To avoid mineral spots from our hard water, dry the outside glass with a soft towel, and if any water gets inside, blot it gently instead of rubbing.
Good habits also help keep the performance of your ceramic window tint strong. Avoid scraping the inside glass with razor blades or hard tools, and stay away from harsh chemicals. Stacking another film on top can cause problems and may affect your coverage. It is helpful to keep your install paperwork and a couple of clear photos from the first month so you have a record of how the tint looked early on.
When to Return for an Inspection
A great time for a follow-up is around the one-month mark. By then, most curing changes have settled, and we can check the film under real daily driving conditions. During an inspection, technicians look at:
- Edges for lifting or gaps
- Any dust or contamination points that show up as tiny dots
- Bubbles that have not gone away or are getting bigger
- Any strange spots in the adhesive layer
Small issues caught early are usually simple to fix and are often covered under normal shop policies. You do not need to wait for something to get worse.
Some warning signs you should not ignore:
- Corners peeling or lifting off the glass
- Large bubbles that grow or feel stiff and raised
- Creases in the film that do not smooth out
- Areas that stay very cloudy or milky after several weeks
It helps to take clear photos and note roughly when you first saw a problem. That gives us more information so we can help faster. A local auto spa that works every day in
Cape Coral humidity and sun understands what true Florida wear and tear looks like and which products play nice with ceramic window tint. At Tints and Beyond, we are here to guide you on post-install care, help with inspections if you ever have doubts, and talk about how tint can work together with paint protection film and ceramic coatings to protect your whole vehicle.
Get Started With Your Project Today
Transform your home’s comfort and style with our premium
ceramic window tint solutions tailored to your space and budget. At
Tints and Beyond, we take the time to understand your goals for glare reduction, privacy, and energy efficiency so we can recommend the best options.
Reach out today so we can
schedule a convenient consultation and walk you through the next steps for your project.