Learn which everyday mistakes cause hidden damage and how smarter car detailing habits protect paint, trim, and value over time. Know more today!
Learn smart habits to fight salt, sun, and road film with car detailing in Cape Coral, plus easy upkeep tips to keep your ride protected and glossy.
Keep your daily driver protected during Florida storms with car detailing in Cape Coral, including wash, wax, and interior care for humid days.
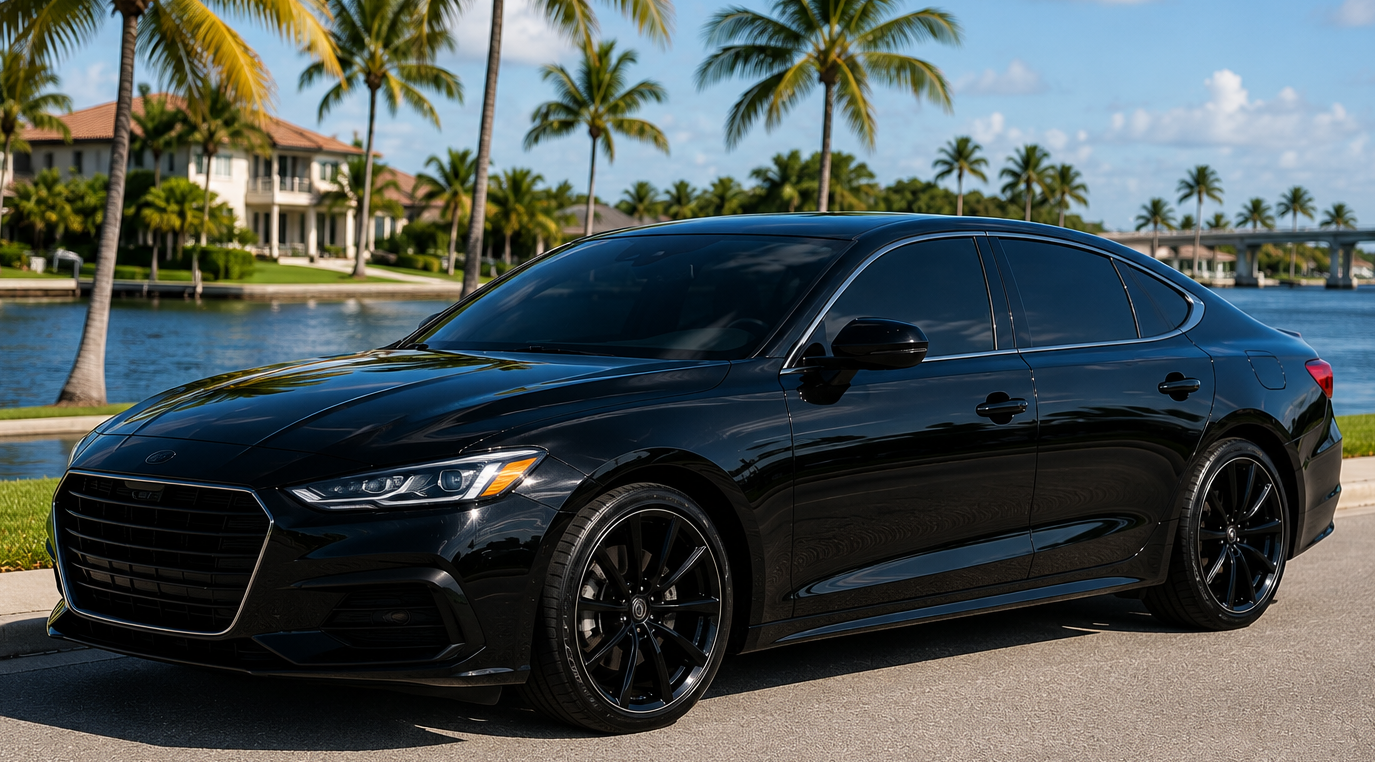
Get more at trade-in with car detailing in Cape Coral, restoring paint, interior, and shine while protecting your vehicle from sun and salt air.
Learn how to assess storm damage, clean safely, and restore shine with car detailing in Cape Coral plus protection tips for coastal conditions.

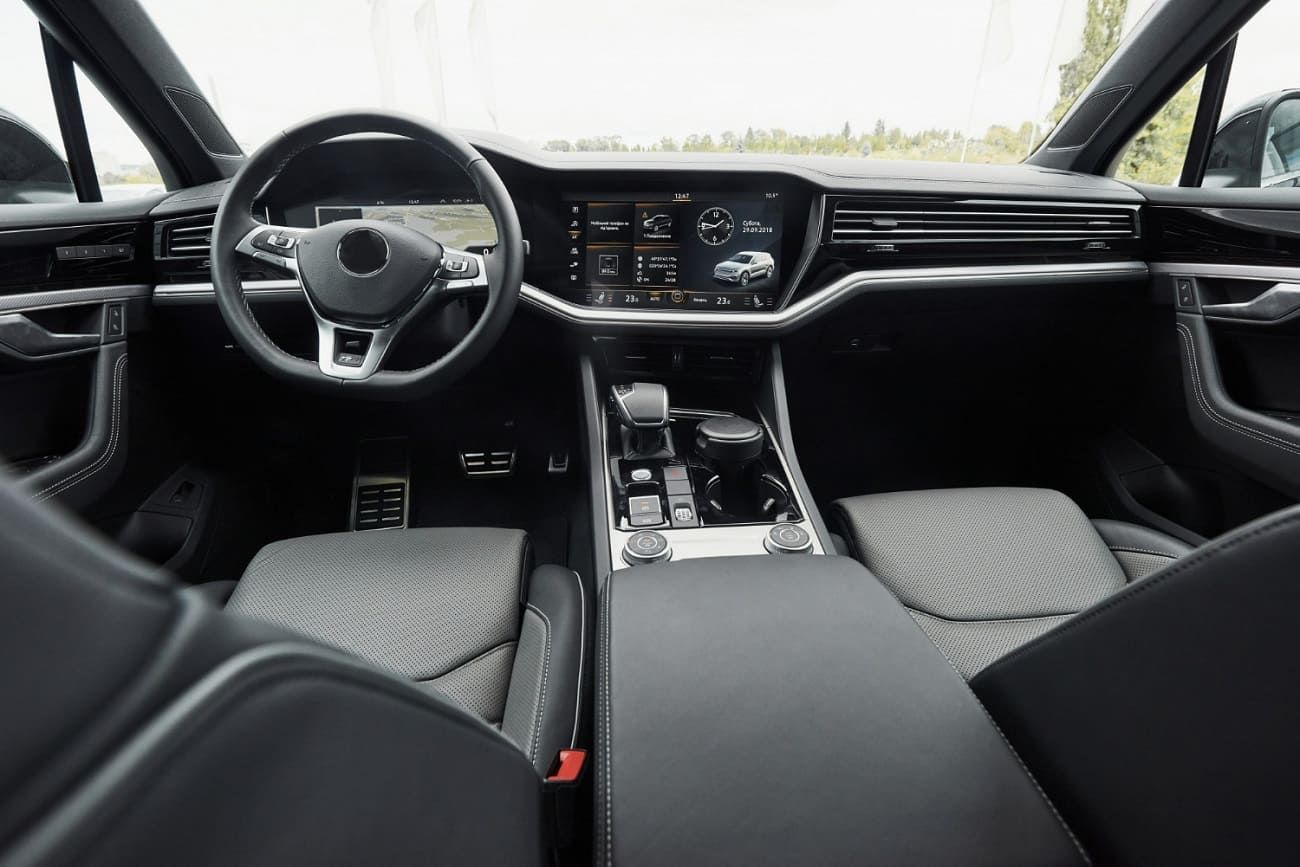
Discover how ceramic window tint reduces glare, blocks heat, and protects interiors, making daily driving in Southwest Florida more comfortable and safe.
Follow this Florida friendly aftercare plan for ceramic window tint: first 72 hours, first week, and first month tips to prevent haze and peeling.
Ceramic tint in Cape Coral: real heat and UV benefits vs dyed film, 2026 Florida tint laws, pricing, and how to choose a trusted LLumar installer.
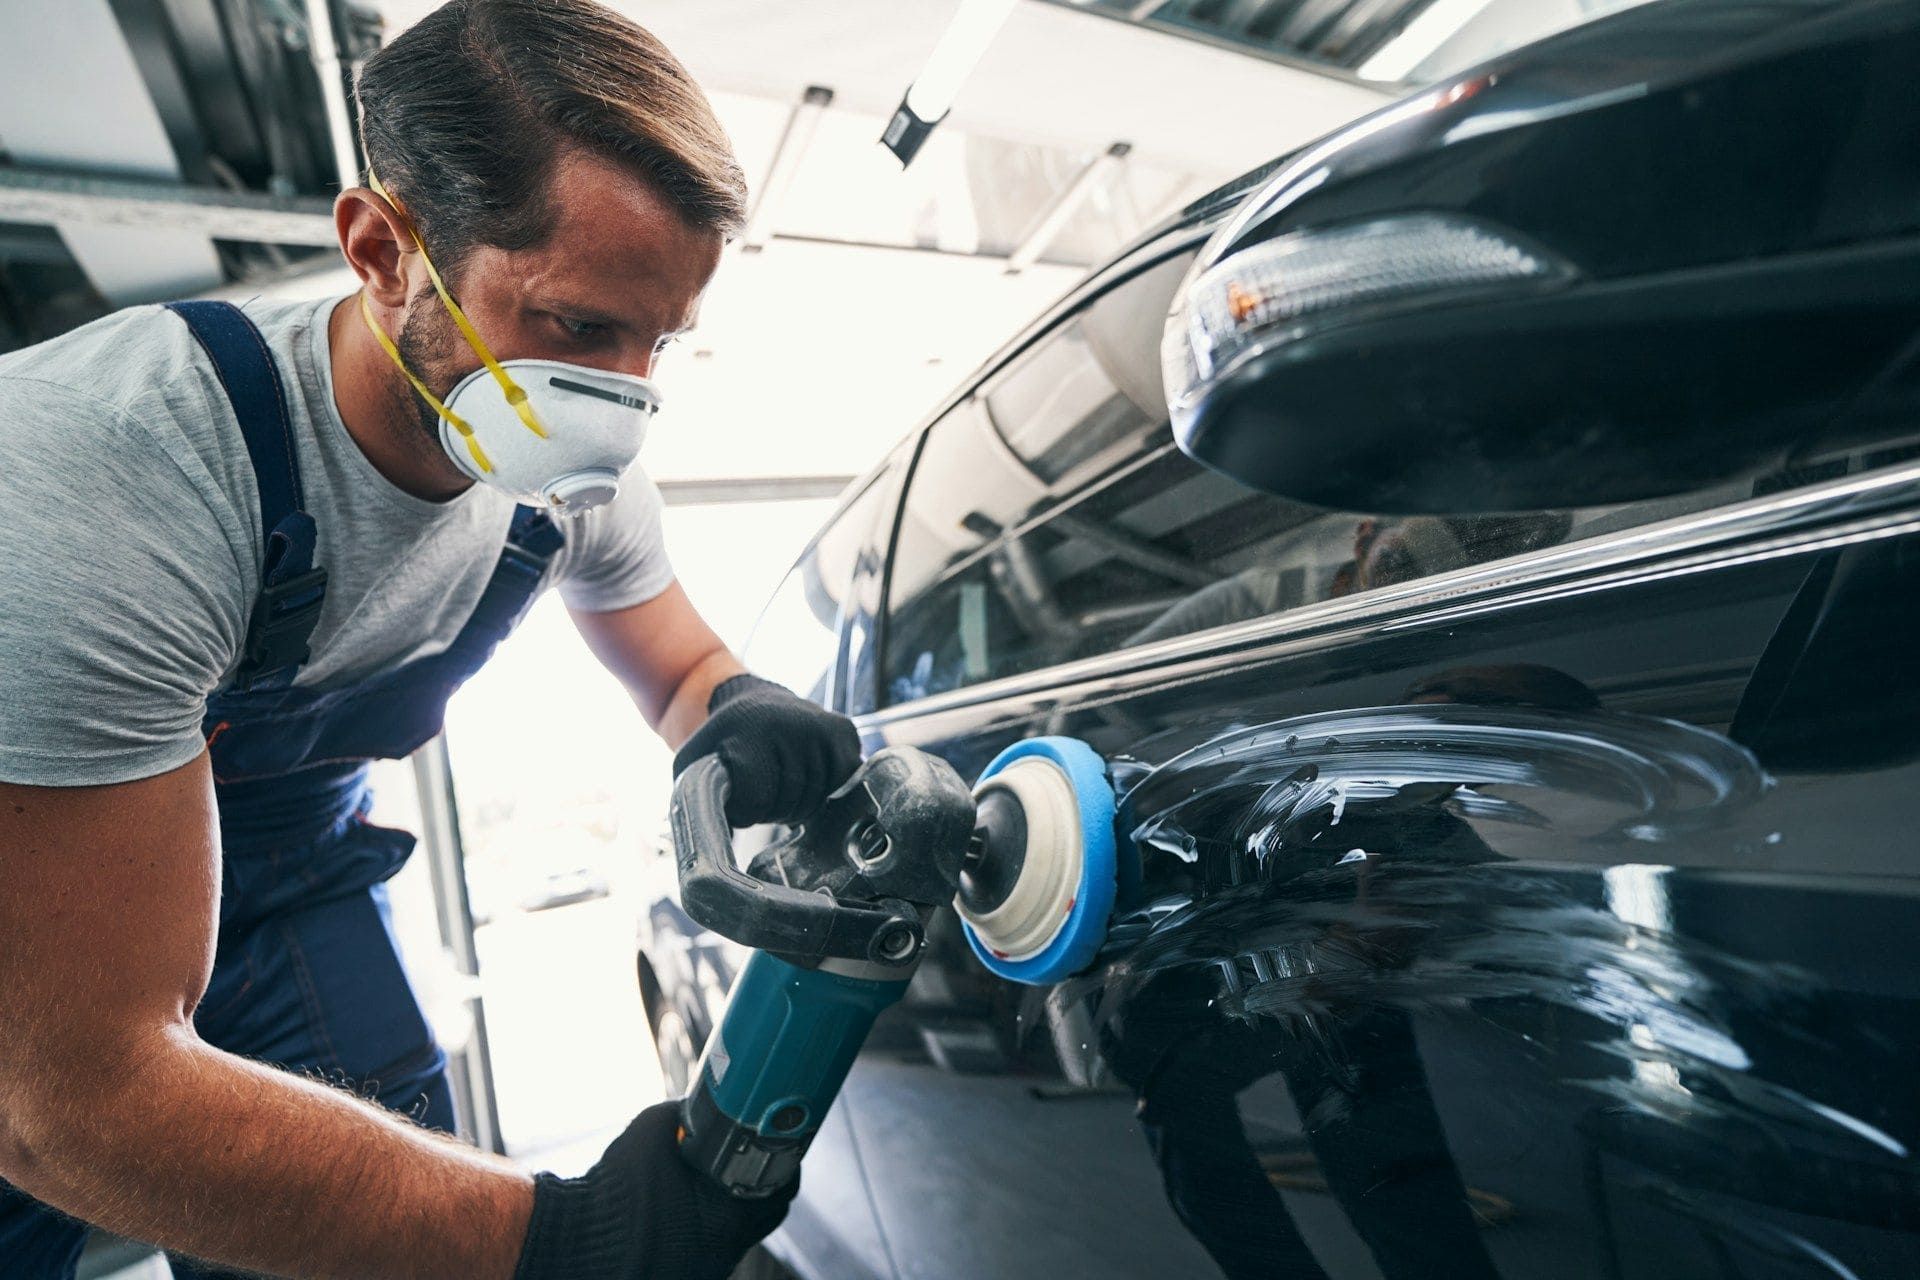
Learn how paint correction removes sun damage, oxidation, and swirls to restore gloss and protect your finish in Florida’s coastal heat.
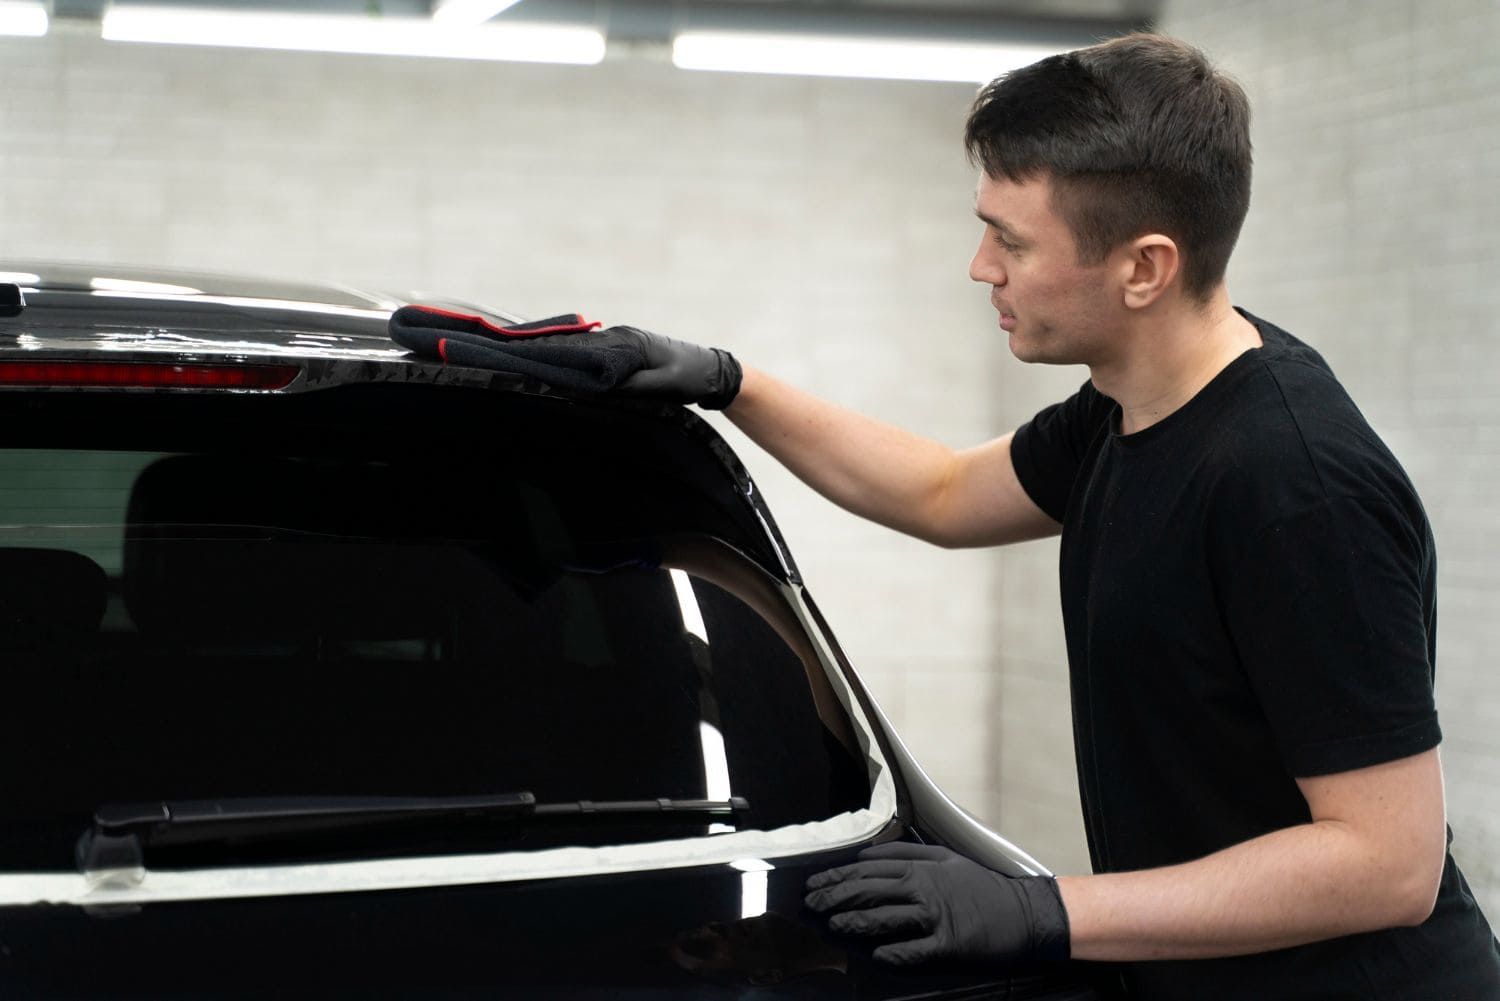
Keep your vehicle protected in the coastal sun and moisture with expert car detailing in Cape Coral, plus coatings and care tips for summer driving.